UPDATED 28 APRIL 2023.
Here are a couple of photos of the module before I started the current construction. The track was in place but it was not "paved", nor was there any overhead. I primarily used the tracks for static display of models
Here are a couple of photos of the module before I started the current construction. The track was in place but it was not "paved", nor was there any overhead. I primarily used the tracks for static display of models


I am now in the process of building the floor of the carbarn. The tracks will be simulated girder rail in a concrete floor. I am not putting "pits" in this carbarn. I simulate girder rail by putting a 1/8" brass angle next to the inside of a Code 125 rail. I then fill the space between the rail and the brass angle with solder. I then clear out the solder to simulate the inside of the girder rail. I then "pave" the street or the floor in this case using plaster of paris. After leveling the plaster, I paint the floor of the carbarn using Decoart matte craft paint. I use a color "Sand Grey" which is a light grey with a slight light brown or sand tone.

This is the simulated girder rail with the brass angle soldered to the code 125 rail and the flangeway made using solder. I drill holes in the brass angle to spike it down prior to soldering

This is an end view of the simulated girder rail
Here plaster has been poured and smoothed to "pave" the surface. For concrete I will simply paint the surface. For street track I will carve simulated cobblestones or bricks.

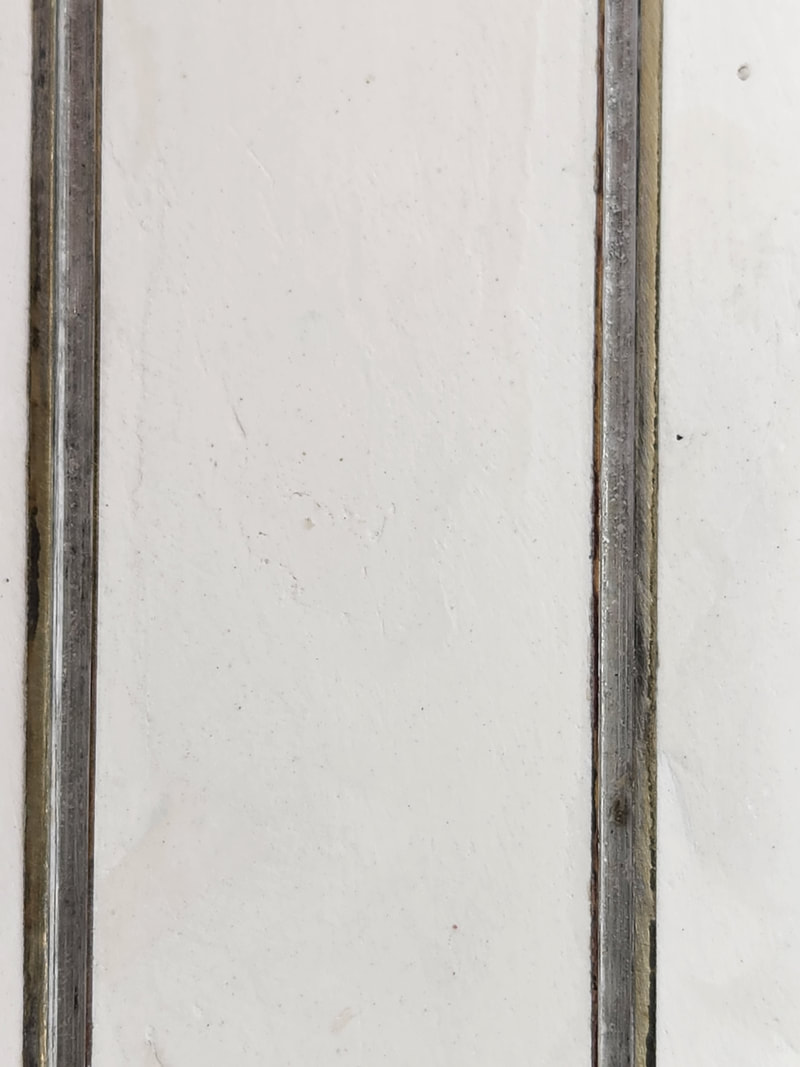
Here the first three tracks of the carbarn have been painted while the back two tracks are still bare plaster
